General Guide | Level Guide | Challenger Guide | Foraging Guide | Predator Guide | Rabbit Selling Guide | Kindling Guide | Genetics Guide | Character Contest Guide | Name Generator | Seeker Guide | Snowflake Guide | Shrooms Guide | Category Guide | HTML Guide | Crystal Cave Guide | Help Forum
The Mystical Crystal Cave is a cave full of sparkly and shiny crystals. In it's center, there is a pool of cool and magical waters where rabbits take a small dip in to change their appearance.There are 3 main items a rabbit can use to change their appearance on the Crystal Cave. These items have the "Rabbit Image Changer" category background color
Below is an in-depth explanaition of how to operate the cave and the items needed to do so.
How to access the Cave
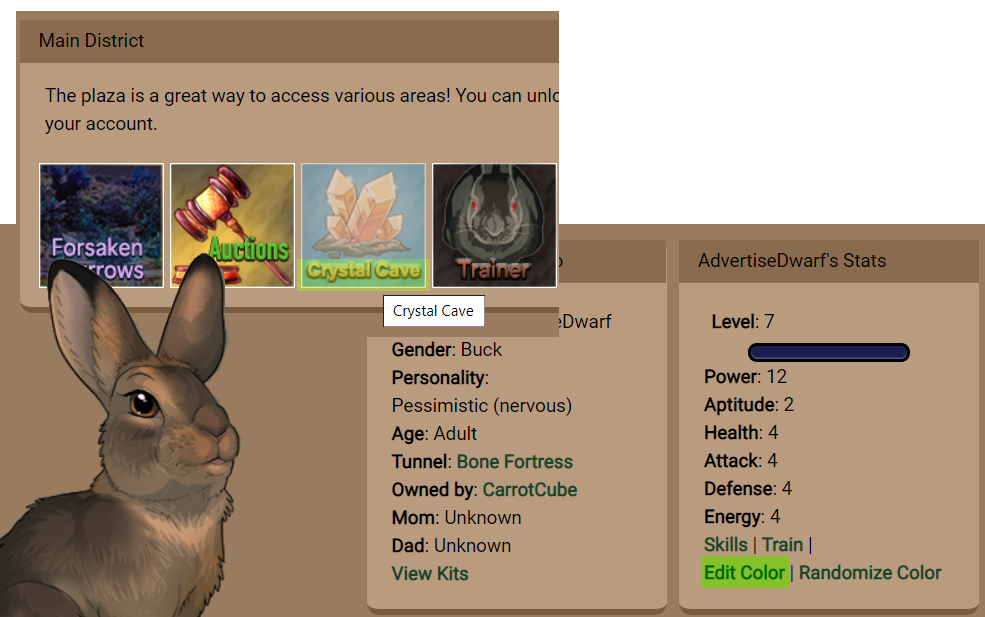
The Crystal Cave can be accesed via the Rabbit Plaza, Rabbit Profiles or the Inventory.
The Crystal Cave is unlocked on the plaza's main district by default, you do not need to be of a certain level to access it.
On Rabbit Profiles, it is under the stat box, on the "Edit Color" link. The "Randomize Color" Link will lead you to a preview of a Golden Snowflake and we are not going to be using it in this guide.
You can access the crystal cave with any rabbit, even if you don't own them. This is helpful to visualize possible changes to a rabbit you may be wanting to purchase.
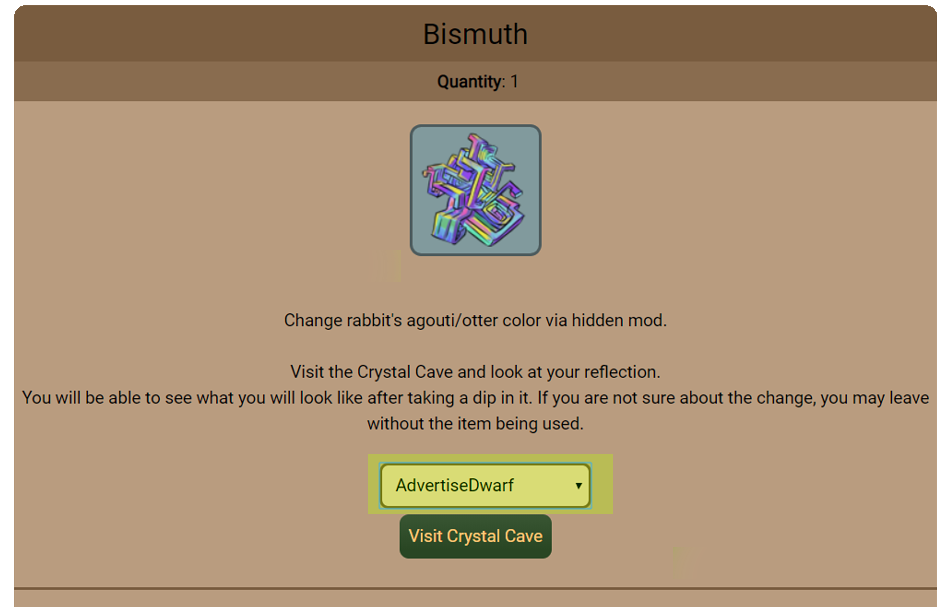
There is also a third way of accessing the crystal cave, wich is pretty similar to just access it via the rabbit profile.
If you use a Rabbit Image Changing item, you have the option to choose a rabbit to visualize in the crystal cave.
Depending on how you access the cave, you will see it differently. It may be confusing at first.
When you access it from the Plaza, you will see all your rabbits, but when you access it from a rabbit profile or the inventory, you will see that exact rabbit. The only difference between the rabbit profile and the inventory, is that the inventory item will be already previewd when you access the cave.
To view a specific rabbit in the cave, all you need to do is click on "View only me" under the desired rabbit.
The general view of all your rabbits is very useful to help you visualize a specific item or set of items applied to all rabbits. For example, when a new pose comes out.
The General View of all your rabbits will not allow you to preview individual markings or edit them in any way. To do that, you need to view the rabbit you are changing.
When viewing all your rabbits, the following can be applied to all of them at the same time for previewing and changing:
Pose, Genes, Chimeric Genes, Cores and Chimerism while viewing single rabbits allows you to change, add, edit and remove individual markings on top of the general view changes.How to visualize changes
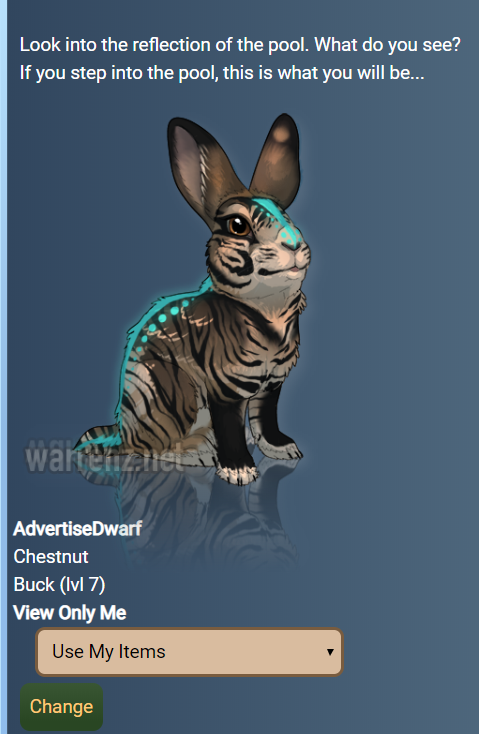
The Crystal Cave will allow you to see how all your rabbits will be affected by an item or several items together.
All your rabbits will be previewed with the selected changes and you will be able to change them on the spot with the "Use my items" options in the dropbox menu, if you have the items required, wich are the items you selected on the preview panel.
On the dropbox menu there is also an option to change the rabbit using credits, the premium currency of Warrenz. This is a "last resort" option as using items is the "intended" way of changing a rabbit's appearance, but you can always use your credits to do so.
As mentioned adobe, the "View only me" link will lead you to a more in-depth customization view of that said rabbit.
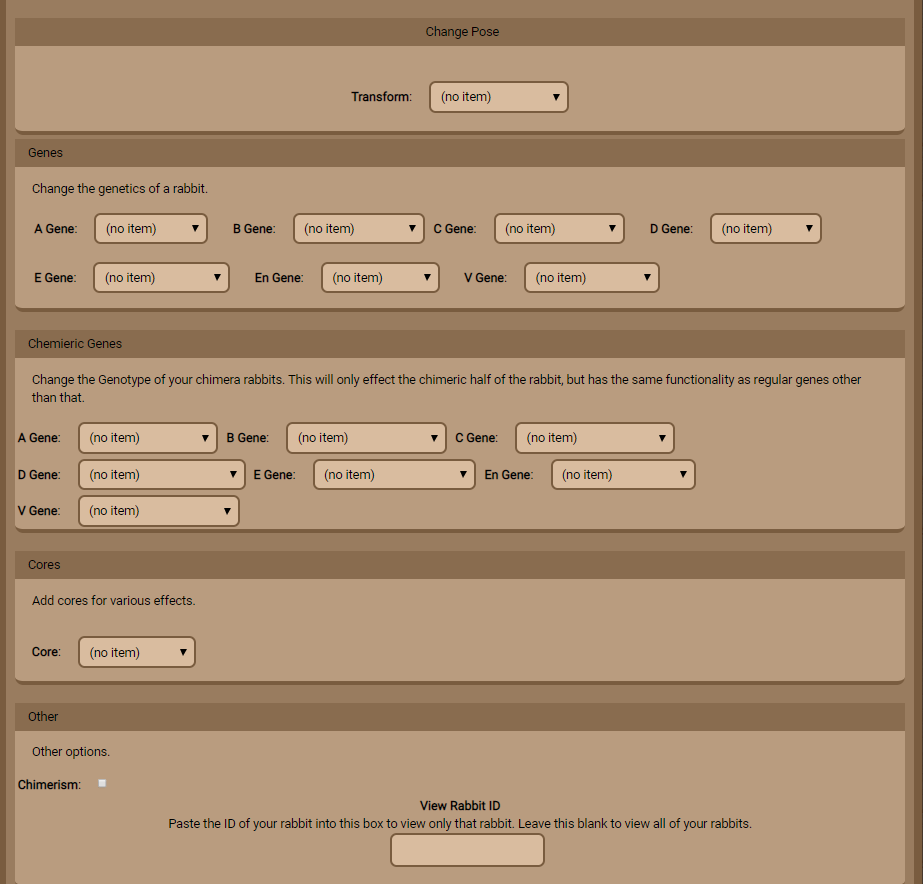
To start seeing and previewing your rabbits, all you have to do is scroll down past your rabbit images. There, you'll find several panels.
The Pose panel allows you to choose a specific pose to use when previewing your rabbits. All poses are avaiable to be previewd, event bases and normal bases. If no pose is selected, they will keep their original pose.
The Genes panel allows you to choose new genes for your rabbits. For a better and extensive explanation about genetics, the Genetics Guide has you covered.
The Chimeric Genes panel allows you to choose new chimeric genes for your rabbits. These are changed by using "Split DNA" instead of the normal DNA. They work exactly like normal DNA, except it only affects the chimera side.
The Flasks panel allows you to choose what flasks to preview. Currently, only Fullcolor and Fade Flasks can be previewd, as these mess with Hidden Modifiers, rather than markings.
The Other panel allows you to preview chimerism on your rabbits. By default, the chimera side is completely black.
Once you are ready, clicking on the "Preview Reflections" button will allow you to see what effects the selected items will have on your rabbits.
"Clear everything" will revert all changes made.
Markings
All rabbits can have markings and each rabbit can have up to 20 markings. It doesn't matter what kind, or if they are different or not.
Markings can be changed color, changed opacity, edited and removed once they are applied. For example, if your rabbit has a Wild Ear marking you dislike, you can change it for another Wild Ear marking that you like better or remove it completely.
If one of your kits has a very low opacity marking you'd like to make more opaque, you can do so too.
All markings have a max of 200% opacity.
Markings are separated in different classes depending on what they apply to a rabbit and the method of getting said markings.
While most of them are gotten by the use of items, special ones like the Spirit Marking cannot be gained by using items.The current order of the Layers is as follows:
Special Markings
Spirit Markings
Albino / Bew Layer
Harlequin Markings
Wild Markings
Agouti Markings
Meaning that Special Markings will always be visible, while agouti markings will be at the bottom.
Edit Markings
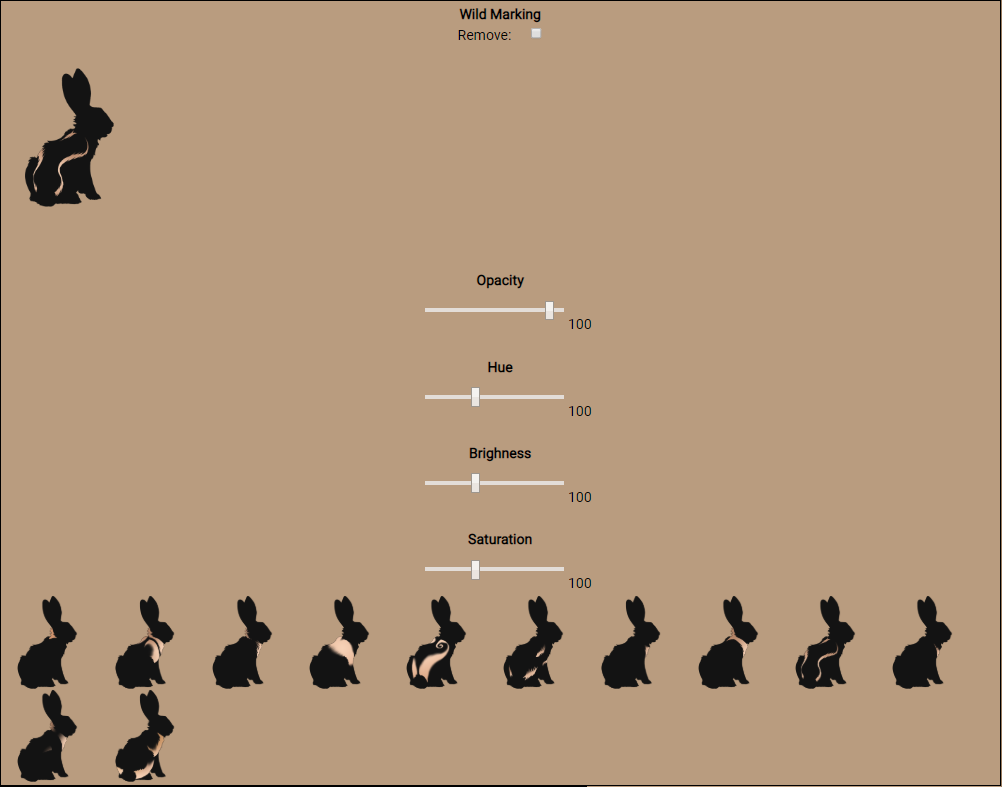
The edit markings, all you have to do is click on the "Edit Existing Markings" tab and it will open the pannels.
Edit existing markings...
The pannels feature a remove checkbox, the current marking your rabbit has, 4 sliders and the rest of the avaiable markings under the marking category of the current marking.
In this example we currently have a wild body marking. So the panel will show the current wild body marking the rabbit has, 4 sliders and all of the markings that are "wild body". The sliders will only work on "wild", spirit, and special markings.More info about the different markings in their sections bellow.
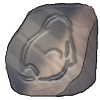
To remove a marking, all you need to do is tick the remove checkbox and hit the Prewiew Reflections button at the bottom of the page. You'll also need a Removal Stone.
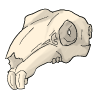
However, spirit markings need a skull to be removed instead.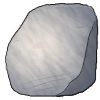
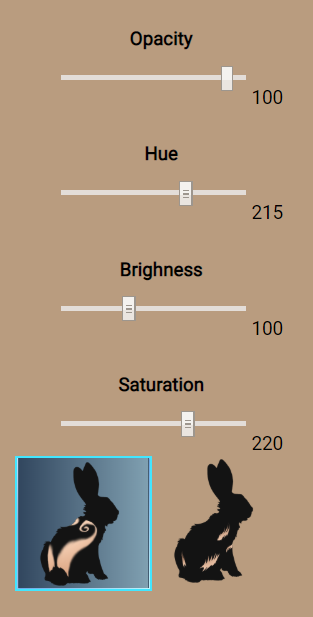
The Sliders
These sliders dictate how will the marking look like on your rabbit. Note that the Hue, Brightness and Saturation sliders will only work on "Wild", "Spirit" and "Special" style markings.
By default, all sliders are set at 100, wich Opacity maxing out at 200, and the rest maxing out at 300.You can also change the type of marking by clicking on the sillouette with the new marking you'd like to replace the current one with.
Opacity dictates how opaque a marking is, less opacity means that the marking will be seen less.
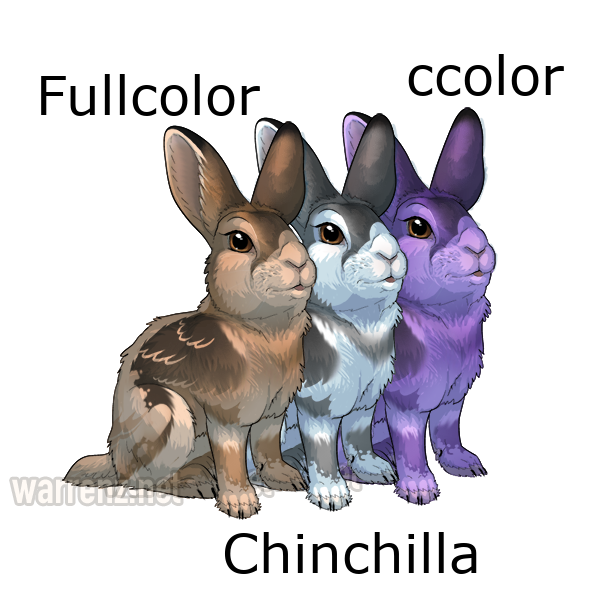
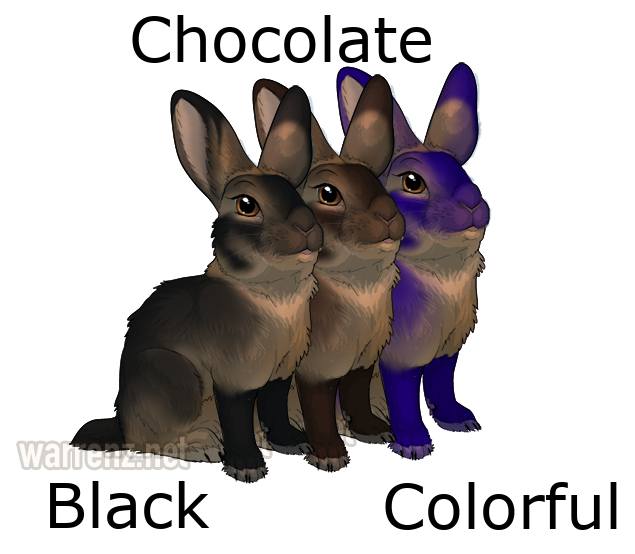
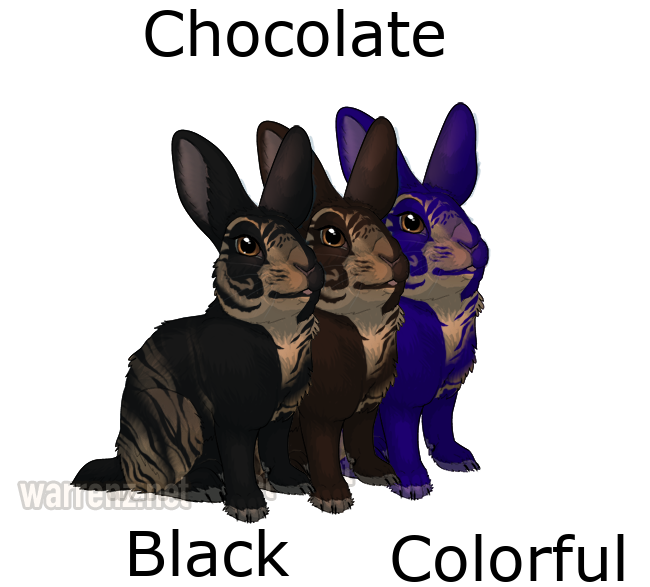
Hue dictates the color of the marking. By default, wild markings follow the C gene.
Brightness dictates how bright the markings is. Lower numbers means it will be darker, or pure black at 0. While higher numbers means the marking will be more light, or pure white at 300.
Saturation dictates how colorful the marking is. Lower numbers means it will be more washed out, or greyish at 0. While higher numbers means the marking will be super bright and colorful.
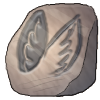
Wild Markings
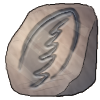
Wild Markings are by default creamy colored markings that are given to rabbits using stones.
These Markings have a set of rules on how they work.
Wild Markings:
- The Default color applied to a marking is dictated by the C gene.
- Go in between Agouti and Harlequin Markings.
- Have all Sliders
- Can be event special
To edit these in the crystal cave, you need wild cores.
One core can alter multiple markings at the same time.
Wild Stones Can be found in foraging and well as in challenges.
More info about color changing on the Slider Section
Items
For convenience sake, all stones that give wild markings have their own Guide.
But that guide is yet to be made.
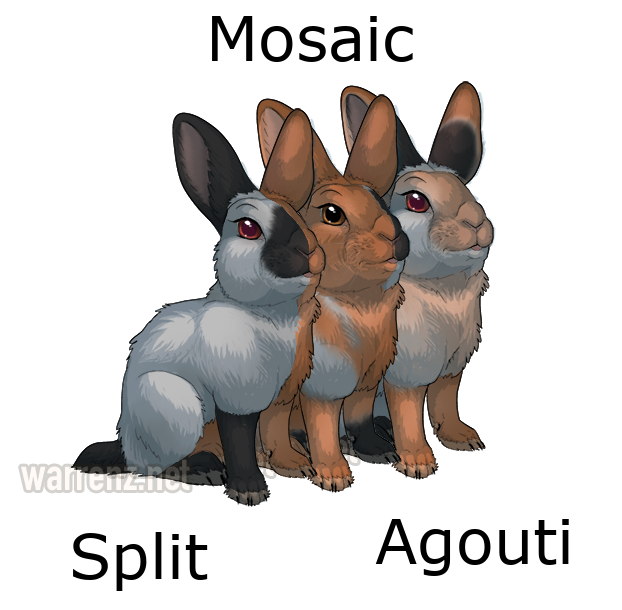
Agouti Markings
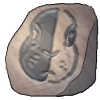
Agouti Markings are of the color of a rabbits base and are given to rabbits using stones.
These Markings have a set of rules on how they work.
Agouti Markings:
- Are dictated by the B gene.
- Are the lowest in the layer position. All other layers will obscure them.
- Have only the Opacity Slider
- There are no event special markings yet.
To edit these in the crystal cave, you need agouti cores.
One core can alter multiple markings at the same time.
Agouti Marking's colors cannot be edited. Since the Agouti markings cut through the layers as opposed to adding to it, like wild marknigs, only the mark itself and opacity can be edited.
Agouti markings are a pattern mask that cuts the shape of the 'marking' out of the agouti and otter layers, showing the base color underneath.
Agouti Stones Can be found in foraging and well as in challenges.
Items
For convenience sake, all stones that give wild markings have their own Guide.
But that guide is yet to be made.
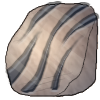
Harlequin Markings
Harlequin Markings are markings resembling the ej Gene rabbits have In Real Life.
These markings are also used by chimeras to make Mosaics.
Some Harlequin Markings do not resemble any irl gene. Instead they resemble animal markings.
For example: The Tiger Stripe Markings and the Panda Markings.
These Markings have a set of rules on how they work.
Harlequin Markings:
- Are dictated by the B gene.
- Are the third highest in the layer position. Only the Spirit Markings are over them.
- Have only the Opacity Slider
- There are no event special markings yet.
To edit these in the crystal cave, you need har cores.
One core can alter multiple markings at the same time.
Harlequin Marking's colors cannot be edited. Since the Harlequin markings cut through the layers as opposed to adding to it, like wild marknigs, only the mark itself and opacity can be edited.
Harlequin markings are a pattern mask that cuts the shape of the 'marking' out of the agouti and otter layers, showing the base color underneath.
Harlequin Stones Can be found in foraging and well as in challenges.
Items
For convenience sake, all stones that give wild markings have their own Guide.
But that guide is yet to be made.
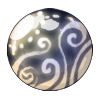
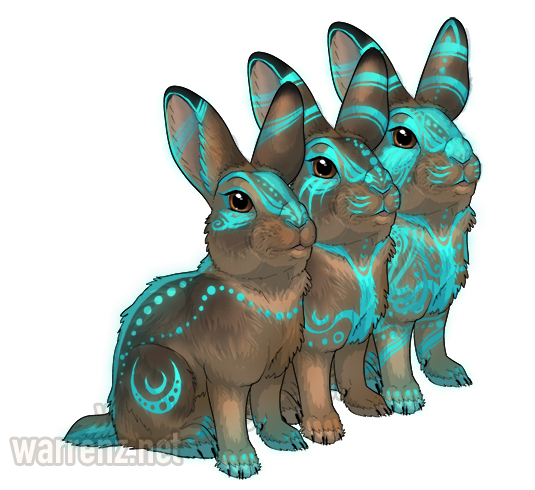
Spirit Markings
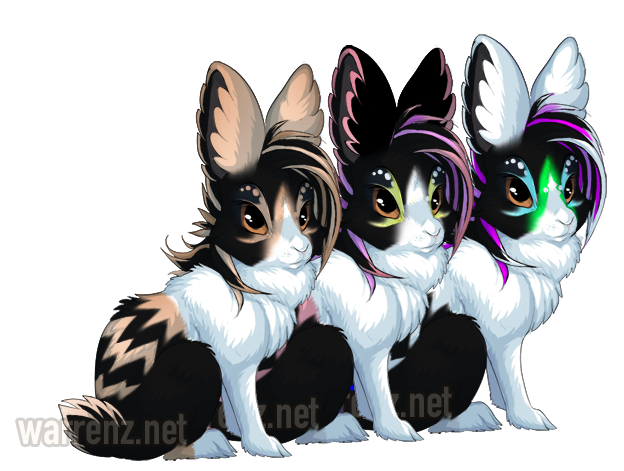
Spirit Markings are mysterious bioluminiscent markings granted by the spirits.
These Markings have a set of rules on how they work.
Spirit Markings:
- Are random by default
- Are the second highest in the layer position.
- Have all sliders
- There are no event special markings yet, as they are an upgraded feature.
To edit these in the crystal cave, you need spirit cores.
One core can alter multiple markings at the same time.
Chimera Markings
Chimera Markings are markings that will only work if the rabbit is a chimera.
They will show the chimera side of the rabbit
These Markings have a set of rules on how they work.
Chimera Markings:
- Will show the chimera genes of a rabbit.
- Have only the opacity slider.
- There are no event special markings yet.
Chimera markings are a pattern mask that cuts the shape of the 'marking' out of the agouti and otter layers, showing the base color underneath.
To edit these in the crystal cave, you need chimera cores.
One core can alter multiple markings at the same time.
Items
For convenience sake, all stones that give wild markings have their own Guide.
But that guide is yet to be made.
Special Markings
Special Markings are markings special to a specific pose.
Currently, only the Skvader has a special marking. It is a star on the forehead.